
Getting Started with ESP32 Programming Using the WokiWoki Simulator
If you’re diving into the world of microcontrollers, then the ESP32 is likely on your radar. Its versatility, Wi-Fi, and Bluetooth capabilities make it a go-to choice for IoT projects. However, getting started with a new board can be a bit daunting. This is where the WokiWoki Simulator comes into play — a powerful tool designed to simulate ESP32 functionality and streamline your programming process. In this guide, we’ll walk you through the basics of using the WokiWoki Simulator to get hands-on experience with the ESP32, even before deploying your code on the physical device.
1. What is the ESP32?
The ESP32 is a microcontroller developed by Espressif Systems, equipped with built-in Wi-Fi and Bluetooth capabilities, making it a powerful component for various Internet of Things (IoT) applications. It features dual-core processing, multiple GPIO pins, and support for numerous communication protocols. Because of its versatility, the ESP32 is ideal for projects such as smart home automation, wearables, robotics, and more.
2. Introducing the WokiWoki Simulator
The WokiWoki Simulator is a browser-based simulation platform that allows you to experiment with the ESP32 environment without needing the physical hardware. It offers a virtual representation of the ESP32 board, enabling you to write, test, and debug your code in real-time.
Benefits of Using WokiWoki Simulator:
- No Hardware Required: Perfect for beginners who want to learn the ESP32 without buying the board.
- Error Checking: Highlights code errors before deployment.
- Real-Time Simulation: View how your code interacts with virtual components like LEDs, sensors, and more.
- Project Prototyping: Build and test complex projects in a controlled environment.

3. Setting Up Your First Project with WokiWoki Simulator
Step 1: Create an Account
Go to the WokiWoki Simulator website and create a free account. Once registered, log in to access the simulation environment.
Step 2: Choose the ESP32 Model
After logging in, select the ESP32 model from the list of available microcontrollers. This will load a virtual ESP32 board on your workspace.
Step 3: Familiarize Yourself with the Interface
-
Code Editor: Where you’ll write your ESP32 programs using MicroPython, Arduino C, or CircuitPython.
-
Component Library: Includes LEDs, switches, sensors, and other peripherals that you can drag and drop onto your workspace.
-
Simulation Panel: Displays real-time outputs of your ESP32 project.
Step 4: Write Your First Code
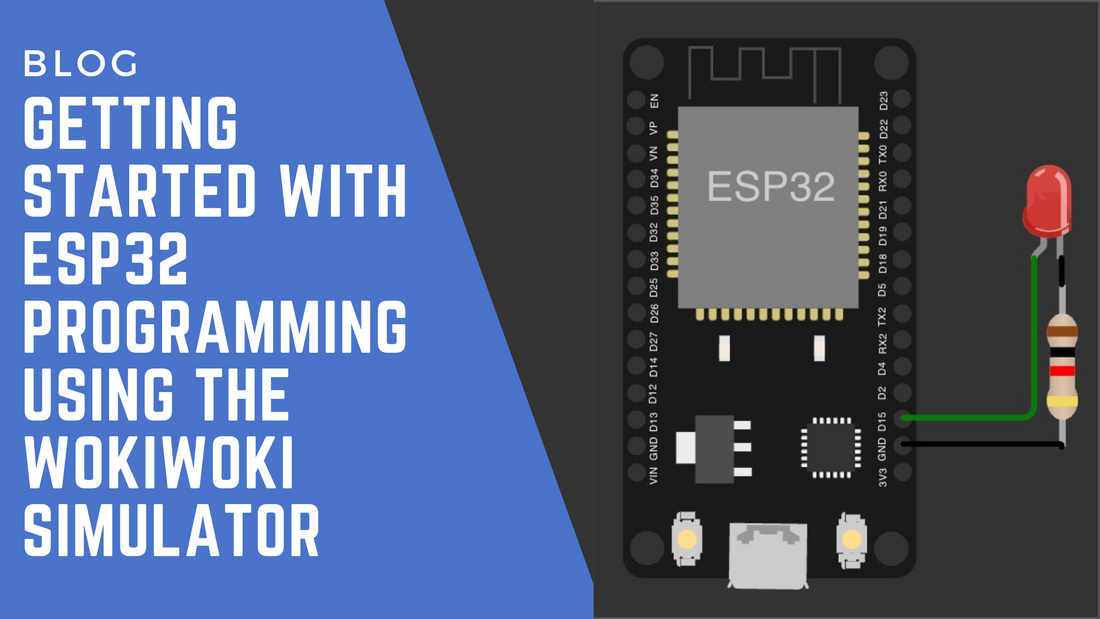
Let’s start with a simple program to blink an LED connected to GPIO pin 2. Select an LED from the component library and place it on the virtual breadboard. Connect the anode to GPIO 2 and the cathode to GND.
Sample Code in MicroPython: [insert image]
Step 5: Run the Simulation
Click the Run button to execute the code. The LED should start blinking in the virtual simulation environment, allowing you to observe how the ESP32 will behave with the given code.
4. Exploring Intermediate Projects with WokiWoki Simulator
Once you’re comfortable with basic code, you can explore more advanced projects using sensors, motors, and network protocols. Here are a few ideas:
-
Temperature Monitoring with DHT11: Use a virtual DHT11 sensor to read temperature and humidity data.
-
IoT Door Sensor: Simulate a magnetic reed switch to detect door openings and send notifications.
-
Smart Lighting System: Create a web-controlled LED lighting system using the ESP32’s Wi-Fi capabilities.
5. Deploying Code to a Physical ESP32 Board
After testing your code in the simulator, you may want to deploy it to a real ESP32 board. Follow these steps:
-
Install the Necessary Tools: Depending on your programming language, install the Arduino IDE, ESP-IDF (Espressif IoT Development Framework), or a MicroPython interpreter.
-
Connect the ESP32 to Your Computer: Use a USB cable to connect the ESP32 to your PC.
-
Upload the Code: Open your IDE, select the ESP32 board, and upload the tested code.
-
Monitor Serial Output: Use the Serial Monitor in your IDE to view outputs and debug if needed.
6. Why Use WokiWoki for ESP32 Development?
The WokiWoki Simulator stands out because it offers an accessible platform for prototyping, learning, and experimenting without the need for physical hardware. For both beginners and seasoned developers, it saves time and reduces the risk of damaging components. The simulator’s versatility and ease of use make it an ideal starting point for those exploring IoT and embedded systems development.
7. Conclusion
The combination of the ESP32 microcontroller and the WokiWoki Simulator offers a powerful toolkit for anyone interested in IoT projects. Whether you’re a beginner or an experienced developer, the simulator provides a sandbox to experiment, debug, and refine your code before deploying it to real hardware. Try building a project today, and see how the simulator can enhance your ESP32 development journey!
Frequently Asked Questions:
-
Can I use the WokiWoki Simulator for other microcontrollers?
Yes, WokiWoki supports a variety of microcontrollers like Arduino Uno, STM32, and more.
-
Is the WokiWoki Simulator free?
It offers a free version with limited features and a paid version for more advanced options.
-
Can I simulate networking projects on WokiWoki?
Yes, the WokiWoki Simulator supports basic network functionalities for the ESP32, allowing you to simulate HTTP requests, MQTT, and more.
-
What programming languages does WokiWoki support?
It supports MicroPython, CircuitPython, and Arduino C for the ESP32.
-
Where can I find more resources for ESP32 programming?
Check out the official Espressif ESP32 documentation and online communities like GitHub and Stack Overflow for more project ideas.